
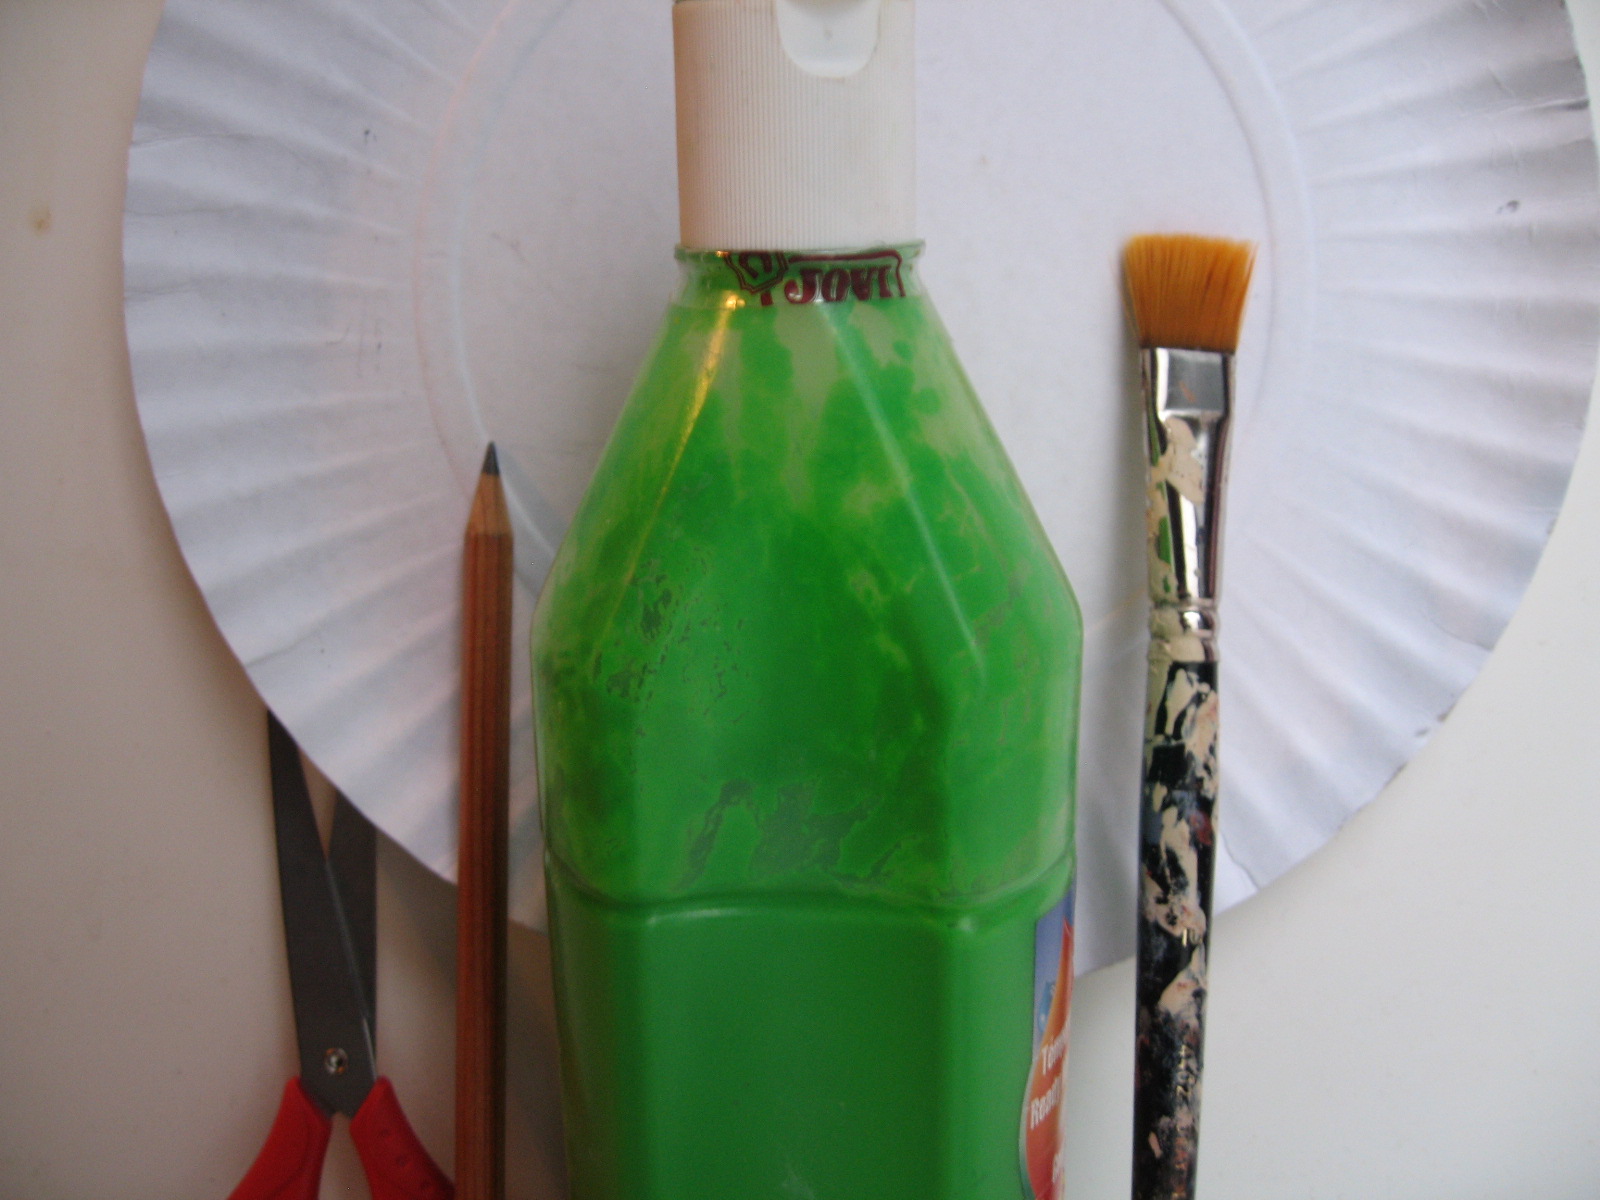
Materials
-Paper plate (21-22cm in width if you want to use the stencil
-Green paint
-Coloured see-through plastic (2 different colours are best) ...Or you could use coloured-tissue paper (it rips easily, though)
-Pencil
-Black marker pen
-Scissors
-Paint brushes, paint container, newspaper
-Glue ('Pritt-stick' is ideal)
-White circular stickers (or cut circles from paper)
-Blu-tac to stick it on the window
-Stencil (provided)
For the chameleon stencil click here:
Stage 1
-Use the stencil provided to cut out a stencil for students/children to use from a paper plate. They could share this between 2-3 of them -Students draw around the stencil and cut out (Alternatively, you could pre-draw on plate first)
-Paint the cut-out plate. (the inside first, and the underside after)
-Leave to dry
Stage 2
-Cut a square of plastic or smaller spuares in different colours (big enough to cover the 2 spaces that have been cut out)
-Turn the plate upside-down and glue the plate
-Stick on the plastic
-Cut off any excess plastic
Stage 3
-Draw around the edges in black pen
-Draw on 'mouth' and any extra details
-Draw edges and detail of 'eyes' in black pen and stick on
-Stick in the window with blu-tac
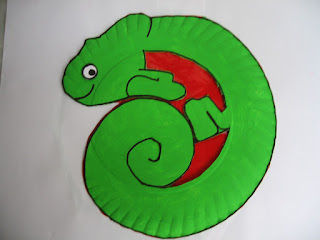
Visual Instructions:


For another 'reptile' craft check out the lizard project on this blog


I'm going to try this in my craft class on Friday because I love it. I'll let you know how it goes.
ReplyDeleteGreat! Take some photos of the finished projects and I can feature them.
Delete