 Here's an idea for a card to celebrate the New Year. It can be used as a
calendar too for a super-duper present!
Tuxedo Card
This is inspired by an idea on the 'Art Attack' website (http://www.disney.co.uk/disney-junior/art-attack/) and is easy and effective to make. It's a great card for New Year, birthdays, Father's Day, celebrations, etc and I've adapted it to be used as a calendar for all year round.
The Cocktail Glass card can be found on this blog to be used for New Year, celebrations and birthdays too.

 Materials
-A4 black card
-Extra black card (for bowtie and pocket)
-White A4 paper (cut to size...around 12 x 21cm)
-Glue ('Prittstick' is ideal)
-Black marker pen
-Scissors
-Pencil
-Red tissue paper
-Shiny ribbon/paper to decorate (optional)
-Calendar printout (optional depending if
you want to use it as a calendar too.
You could download this from CreativeCommons (http://creativecommons.org/) or 'Google Images'.
Stage 1
-Stick white paper to the centre of the card
(once this is stuck on then the card folds around it. The paper needs to be around 12cm for the A4 card to fold and overlap)
-Fold the edges vertically along the sides of the paper
-Fold the 2 top corners to make 'lapels'. (You could cut a triangle out of each edge to make them jacket lapels or add a decorative trim along the edge if you prefer)


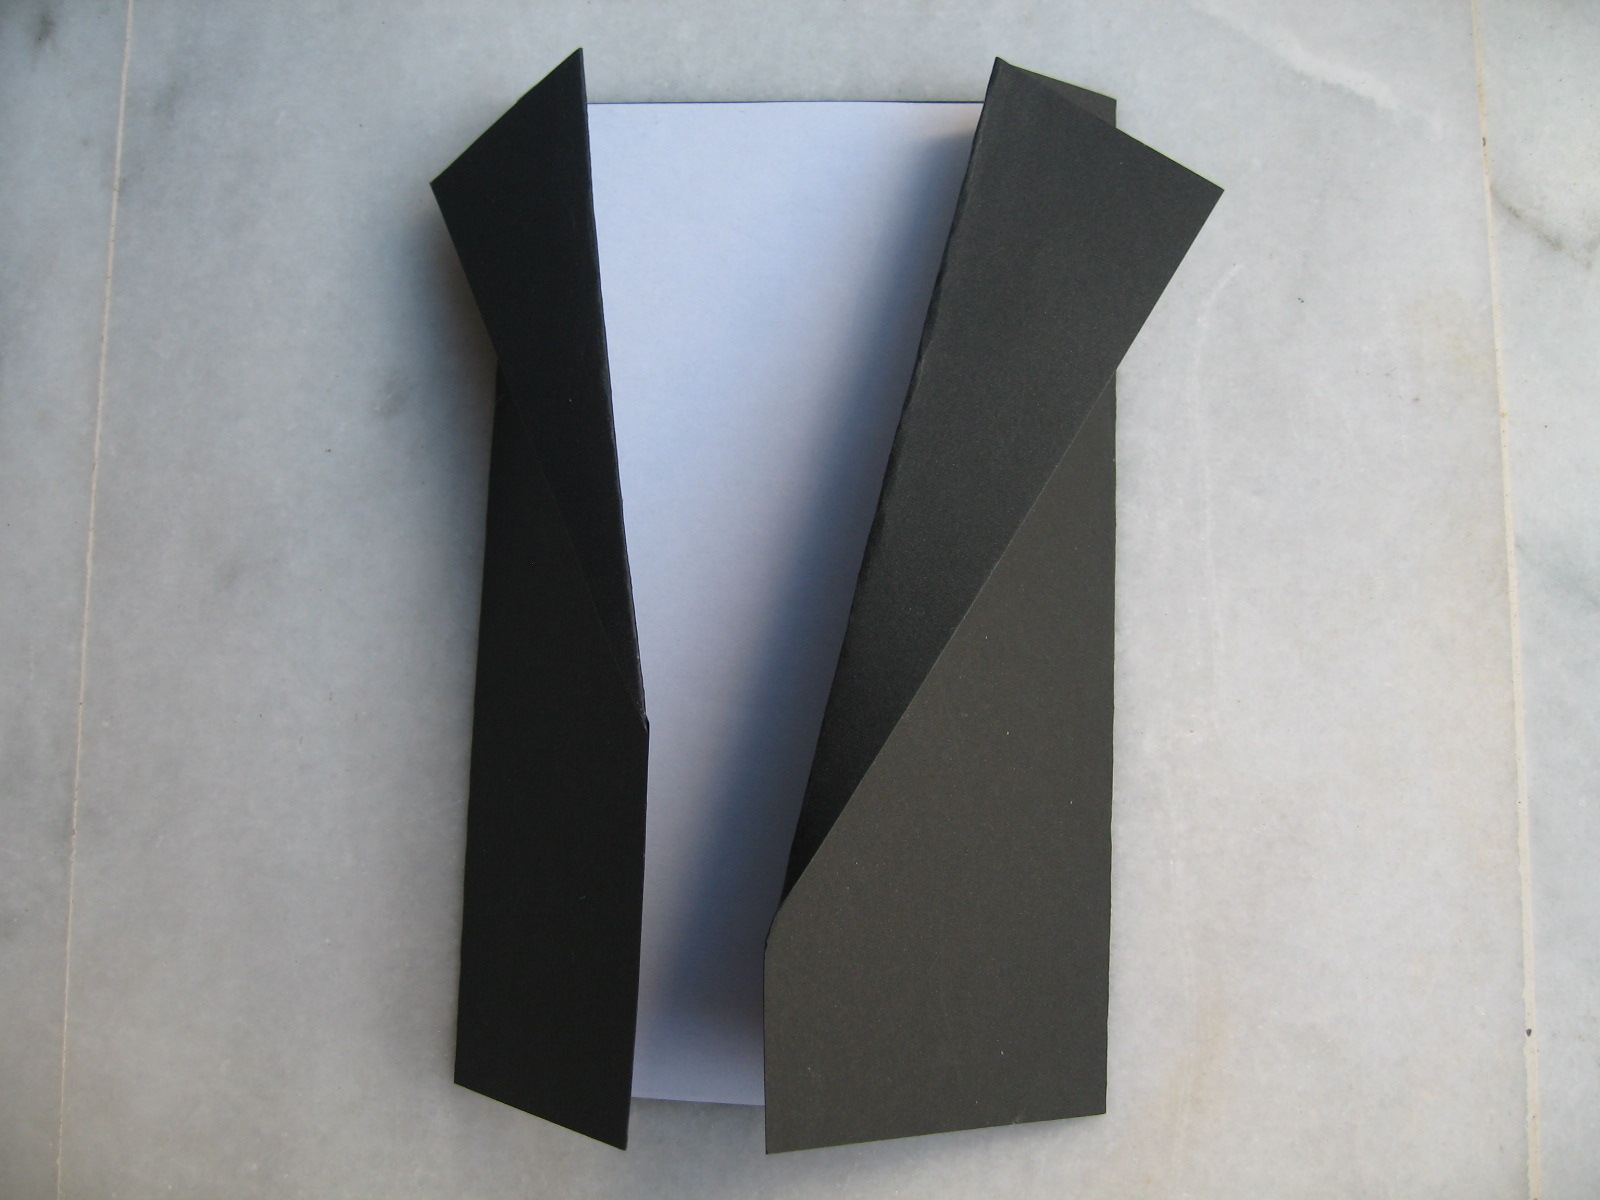
-Draw 2 triangles on the top of the white paper for the 'collar'
-Cut the doily into sections and glue down the centre of the A4 paper

-Cut out a bowtie and pocket from black card
(You could use a stencil for this if for a classroom
project)


-Cut a square of red tissue paper
-Pinch the middle part and loosely fold into quarters to scrunch into a flower shape.
-Trim the corners and glue onto the front of the 'jacket'

-Stick a rectangle of black card onto the front of the card for the 'pocket' and to secure the flower
-Add stitching detail along the edges and buttons using a pencil
-Attach shiny ribbon to the inside of one corner
-Add message on the inside of card

-You could stick a calendar printout to the inside
of the card (there may only be room for a few
months so stick the remainder on the back of
the card)...And you have a Calendar Present too!

...Happy New Year!

No comments:
Post a Comment